Master the art of DIY oil changes with our step-by-step guide. Save money, gain skills, and ensure your vehicle stays in top condition. Dive in and empower yourself!
Welcome to our friendly guide on mastering a DIY oil change! Nothing feels quite as empowering as being able to maintain our own vehicle, saving a trip to the mechanic, and learning a few handy skills along the way. In this step-by-step guide, we’ll walk you through every detail, from gathering the necessary tools to properly disposing of the used oil. Together, let’s roll up our sleeves and dive into this satisfying project, making sure our beloved ride stays in top-notch condition.
Have you ever wondered how you can save some money by performing your own oil change? Doing an oil change yourself is not only cost-effective, but it’s also a rewarding and satisfying way to take care of our vehicles. Plus, it gives us an excellent opportunity to learn more about the intricate workings of our car’s engine. So, let’s dive into the world of DIY oil changes and discover how simple and straightforward it can be with this step-by-step guide!

Why Do An Oil Change Yourself?
Before diving into the nitty-gritty details of how to change our car’s oil, let’s consider why we should tackle this task ourselves. Here are some compelling reasons:
Cost Savings
Performing an oil change ourselves can save us a considerable amount of money. While a professional oil change can cost anywhere between $40 to $100, doing it ourselves typically costs less, depending on the type of oil and filter we choose.
Quality Control
When we change the oil ourselves, we have complete control over the quality of both the oil and the filter. We can select the best products that suit our car’s specifications.
Convenience
By learning to do it ourselves, we can change the oil on our schedule. No more waiting in line at the mechanic or having to book appointments days or weeks in advance.
Skill Development
Lastly, performing an oil change helps us develop a valuable skill set. Understanding our vehicle’s maintenance needs can be empowering and provide a deeper connection to our car.
Essential Tools and Materials
Before we get started with our DIY oil change, let’s gather the necessary tools and materials. Being prepared ahead of time will ensure a smooth and efficient process.
Tools Needed
Here is a list of basic tools we will need:
| Tool | Purpose |
|---|---|
| Wrench (Socket or Box) | To remove the oil drain plug |
| Oil Filter Wrench | To remove the old oil filter |
| Funnel | To prevent spillage when adding new oil |
| Oil Drain Pan | To collect the used oil |
| Jack Stands/Ramps | To safely lift the vehicle for access underneath |
| Rubber Gloves | To protect our hands from oil and grime |
| Clean Rags/Towels | For cleaning up any spills |
Materials Needed
We’ll also need to gather the right materials:
| Material | Purpose |
|---|---|
| Motor Oil | To replenish the engine after draining old oil |
| Oil Filter | To replace the old, dirty filter |
| Oil Filter Gasket | To replace the oil filter gasket if needed |
| Copper Washer | For replacing the washer on the oil drain plug |
Choosing the Right Oil and Filter
Consult our vehicle’s owner manual to determine the correct type of oil and filter. Using the wrong kind can negatively affect our engine’s performance and longevity.
Preparation Steps
Proper preparation sets the stage for a hassle-free oil change. Let’s follow these steps to get everything ready.
Warm Up the Engine
An important first step is to warm up the engine. Warm oil flows more easily, allowing it to drain out completely. We should run the engine for about 5 to 10 minutes, then turn it off.
Ensure Safety
Safety is paramount. Park our vehicle on a flat, level surface. Engage the parking brake and place wheel chocks behind the rear wheels to prevent any accidental movement.
Lift the Vehicle
Use a jack to lift the front of the vehicle and place it securely on jack stands or ramps. Double-check that the vehicle is stable before crawling underneath.
Step-by-Step Oil Change Guide
Now that we have all the tools and materials and our vehicle is safely lifted, we are ready to get our hands dirty. Here is a detailed step-by-step guide on how to change the oil.
Step 1: Drain the Old Oil
Locate the Drain Plug
Find the oil drain plug underneath the vehicle. Placing the oil drain pan directly under the plug will catch the old oil as it drains out.
Remove the Drain Plug
Using a wrench, carefully unscrew the drain plug and remove it. Be cautious as the oil may be hot. Allow the oil to drain completely, which typically takes about 5-10 minutes.
Inspect and Replace the Washer
Check the condition of the washer on the drain plug. If it looks worn out, replace it with a new one. This helps ensure a proper seal and prevents leaks.
Step 2: Remove and Replace the Oil Filter
Locate the Oil Filter
Locate the oil filter near the engine. This can usually be found by following the engine block.
Use the Oil Filter Wrench
Using an oil filter wrench, loosen and remove the old oil filter. Be prepared for some oil to spill out, so have a rag handy.
Prepare the New Oil Filter
Before installing the new filter, apply a small amount of fresh oil to the gasket on the top of the filter. This helps create a better seal.
Install the New Oil Filter
Screw the new oil filter into place by hand. It should be snug but not overly tight. Oil filters typically only need to be hand-tightened.
Step 3: Add New Oil
Locate the Oil Fill Cap
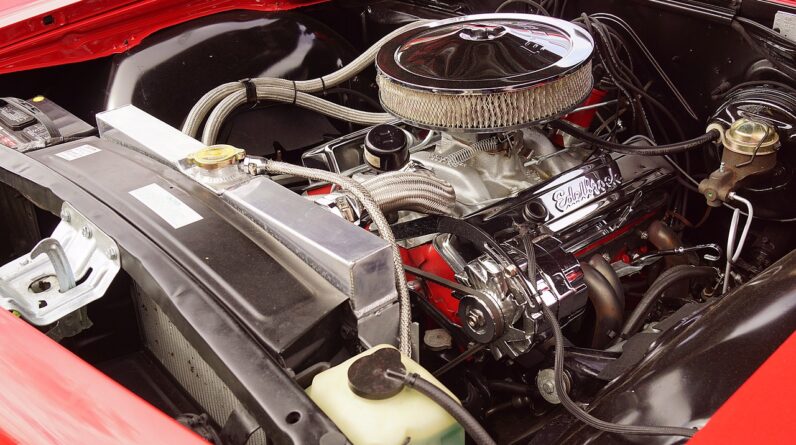
Locate the oil fill cap on the top of the engine and remove it.
Use a Funnel
Place a funnel over the oil fill opening, and pour the new oil in slowly. Refer to the owner’s manual to know the correct amount and type of oil to use.
Check the Oil Level
After adding the new oil, replace the oil fill cap and start the engine. Let it run for a minute or two, then turn it off. Check the oil level using the dipstick; add more if necessary.
Step 4: Finishing Up
Replace the Drain Plug
After all the old oil has been drained, replace the drain plug and tighten it securely with a wrench.
Clean Up
Dispose of the used oil and old oil filter properly. Most auto parts stores and service stations accept used motor oil for recycling.

Post-Oil Change Checklist
After completing the oil change, it’s important to review our work to ensure everything is in order.
Check for Leaks
Carefully check around the oil drain plug and the oil filter for any signs of leakage. Tighten them if needed.
Reset the Oil Change Indicator
Depending on your vehicle, you may need to reset the oil change indicator light. Refer to the owner’s manual for specific instructions on how to do this.
Record the Oil Change
Keeping a maintenance log is a good practice. Record the date and mileage of the oil change, as well as the type of oil and filter used. This helps keep track of when the next oil change is due.
Common Questions and Troubleshooting
Changing our oil can sometimes come with unexpected challenges. Here are some common questions and troubleshooting tips.
What if I Can’t Remove the Oil Filter?
If the oil filter is stuck, try using a specialized oil filter removal tool. Applying a little extra torque or using a strap wrench can often help loosen it.
What if the Oil Drain Plug is Stripped?
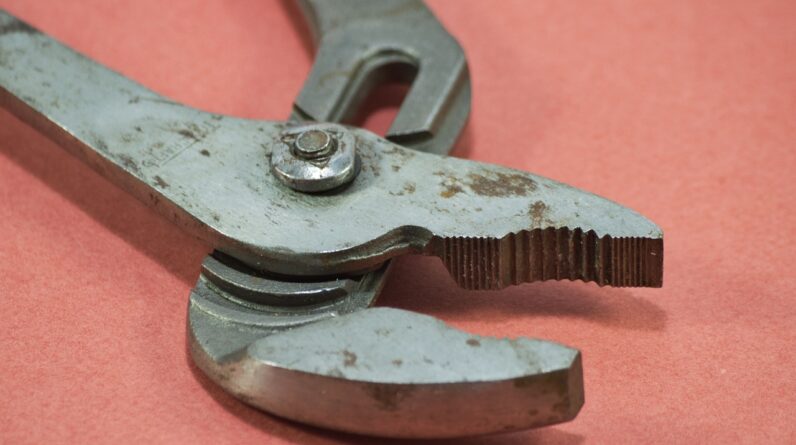
If the oil drain plug is stripped, it may need to be replaced. Use a vice grip to remove the damaged plug, and consider purchasing a replacement from an auto parts store.
Can I Overfill My Engine With Oil?
Yes, adding too much oil can cause aeration, which reduces the oil’s lubricating properties. Always check the oil level with the dipstick to ensure it’s within the recommended range.
How Often Should I Change My Oil?
Consult the owner’s manual for the manufacturer’s recommended oil change intervals. Typically, it ranges between 3,000 to 7,500 miles, depending on the type of oil and driving conditions.

Benefits of Regular Oil Changes
Regular oil changes are crucial to maintaining our car’s health. Here are some key benefits:
Improved Engine Performance
Fresh oil keeps our engine running smoothly by reducing friction and wear. This results in better performance and fuel economy.
Extended Engine Life
Regular oil changes help remove dirt, debris, and sludge from the engine, extending its lifespan.
Better Fuel Mileage
Clean oil reduces engine strain, leading to better fuel efficiency.
Reduced Emissions
Old, dirty oil can increase harmful emissions. Keeping the oil fresh helps our vehicle run cleaner and more efficiently.
Environmental Considerations
Changing our own oil comes with an environmental responsibility. Here’s how we can handle used oil and filters properly.
Recycling Used Oil
Used motor oil contains hazardous contaminants and should be recycled. Most local auto parts stores and service stations accept used oil for recycling.
Disposing of the Oil Filter
Oil filters should also be disposed of properly. Draining the old oil from the filter and recycling it along with the used oil is the best practice.
Avoiding Spills
Use funnels and absorbent mats to prevent oil spills, and clean any accidental spills immediately to protect the environment.
Conclusion
Changing our oil is a straightforward and rewarding process that not only saves money but also enhances our understanding and connection with our vehicle. By following this step-by-step guide, we can confidently perform an oil change and maintain our car’s engine in top condition. Remember, regular oil changes are crucial for the longevity and performance of our vehicle, and taking on this task ourselves can be both convenient and educational. Happy wrenching!


