Learn how to change your car’s oil with our simple guide! Save money, boost engine performance, and extend your vehicle’s lifespan. Get started today!
Have we ever gotten our hands dirty changing the oil in our vehicle? If the idea sounds intimidating, don’t worry! Changing your car’s oil is a straightforward task that we can tackle together. By doing it ourselves, we not only save money but also gain a deeper understanding of our vehicle. Let’s roll up our sleeves and get started!
The Importance of Regular Oil Changes
We might be wondering why changing the oil is crucial for our vehicle. Motor oil lubricates the engine, allowing all the moving parts to operate smoothly. Over time, oil can break down and become less effective, leading to increased engine wear, reduced efficiency, and even costly repairs. Regular oil changes ensure our engine stays healthy, enhances performance, and ultimately extends its lifespan.
Signs It’s Time for an Oil Change
Before we begin, let’s familiarize ourselves with some signs that indicate it’s time to change the oil:
- Oil Change Light: Many vehicles have a warning light that indicates when it’s time for an oil change.
- Dirty Oil: If we check the dipstick and see that the oil is dark and gritty, that’s a sure sign it needs to be changed.
- Unusual Engine Noises: If we hear clicking or knocking sounds from the engine, the oil may not be lubricating properly.
- Mileage: A good rule of thumb is to change the oil every 3,000 to 5,000 miles, though this can vary based on the car and the oil type.
Let’s ensure we pay attention to these signals so we can keep our car running smoothly.
Gathering Our Supplies
Before we jump into the actual oil-changing process, we need to collect some essential tools and materials. Here’s a handy list for us:
| Item | Purpose |
|---|---|
| New Oil | To refill the engine post-drain. |
| Oil Filter | To ensure clean oil circulation. |
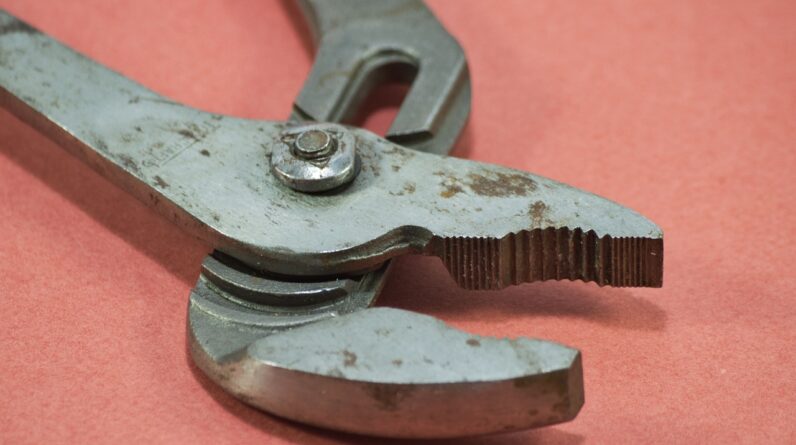
| Wrench or Socket Set | To remove the oil drain plug and filter. |
| Oil Catch Pan | To collect the old oil. |
| Funnel | To avoid spills when adding new oil. |
| Oil Dipstick | For checking oil levels before and after. |
| Rags or Paper Towels | To clean up any mess. |
| Safety Glasses | To protect eyes from drips and debris. |
| Gloves | To keep our hands clean. |
By ensuring we have all these items ready, we set ourselves up for a smooth oil change process.
Preparing for the Oil Change
Now that we have everything we need, it’s time to prepare our vehicle.
Safety First
Before getting started, we should always prioritize safety. Make sure we park our car on level ground and turn off the engine. Engaging the parking brake will help keep our vehicle from rolling while we work. If it’s a bit hot outside, it’s also a good idea to let the engine cool down for a little while to avoid burns.
Gather Information About Our Vehicle
Each vehicle has specific needs regarding oil type and capacity. Finding our car’s manual is a great step to take. Here, we’ll discover what kind of oil our engine needs and the correct amount to buy. If we don’t have a manual handy, we can also check resources online with our vehicle’s make and model.
Changing the Oil
With our vehicle and tools ready, let’s get to the main event!
Step 1: Lift the Vehicle
If we drive a sedan or a smaller car, we often can slide under the vehicle without issue. However, if we have a larger vehicle, lifting it might be necessary. We can use a jack and jack stands for safety. It’s always better to be cautious and make sure that the vehicle is stable before crawling underneath.
Step 2: Remove the Oil Drain Plug
Position our oil catch pan beneath the oil drain plug, which is typically located at the bottom of the oil pan. Using our wrench or socket set, we can carefully unscrew the plug. We need to give it a little time to drain completely, allowing all the old oil to flow out. It might get messy here, so let’s be cautious!
Step 3: Remove the Oil Filter
While the old oil is draining, we can focus on removing the oil filter. This can often be done by hand, but if it’s too tight, a wrench may be necessary. As we remove the filter, a small amount of old oil might spill out, so our catch pan will come in handy again!
Before we install the new filter, let’s remember to rub a bit of clean oil on the rubber gasket of the new filter. This helps create a better seal and makes it easier to remove during the next oil change.
Step 4: Replace the Oil Drain Plug
Once we’ve allowed the old oil to drain completely, it’s time to replace the oil drain plug. We should screw it back on tightly, but we don’t want to overdo it – just a firm hand will do!
Step 5: Add New Oil
Now for the exciting part! Using our funnel, we can carefully pour the new oil into the engine. It’s essential to refer to our vehicle’s manual for the correct amount and type of oil. Once we’ve added the oil, we can use the dipstick to check the level; it should fall between the two marks.
Step 6: Replace the Oil Filter
After ensuring that the drain plug is secure and the new oil is added, we can now attach the new oil filter. We need to screw it in gently, being careful not to overtighten it.
Step 7: Run the Engine
With everything in place, we can start the engine and allow it to run for a few minutes. This helps circulate the new oil throughout the engine. While it’s running, we can also check for any leaks around the drain plug and filter.
Step 8: Dispose of Old Oil Properly
We need to keep in mind that disposal of old oil is extremely important. We can’t just pour it down the drain or throw it in the trash. Instead, we can take the old oil to an auto parts store or a recycling center that accepts used motor oil. Many places offer this service for free, and it helps protect the environment!
Step 9: Check Oil Levels Again
After we’ve allowed the car to run for a little while, it’s always best to re-check the oil level using the dipstick. If necessary, we can add a little more oil until it hits that perfect level.
How Often Should We Change Our Oil?
Now that we’ve successfully changed our oil, it’s essential to set a reminder for our next change. Although we mentioned earlier that the average mileage for changing oil is between 3,000 and 5,000 miles, it’s good practice to check our manual for specific recommendations. Newer vehicles might even have longer intervals, especially if we’re using synthetic oil, so let’s keep that in mind.
To help us stay on top of our oil changes, we might consider setting a calendar reminder or using an app to track our vehicle’s maintenance. Many apps can help us log when we’ve performed services, which can save us from forgetting crucial maintenance tasks.
Common Mistakes to Avoid
As we continue our journey in maintaining our vehicle, let’s discuss some common mistakes we should aim to avoid during an oil change:
Overfilling the Oil
When we’re adding new oil, it’s easy to get carried away. However, adding too much oil can cause excessive pressure and lead to leaks or even engine damage. Always double-check the dipstick to ensure we add the correct amount.
Forgetting to Replace the Oil Drain Plug
It’s one of those steps that’s easy to forget if we’re in a hurry. Forgetting to replace the drain plug can cause a catastrophic mess and loss of all our valuable new oil. Let’s make it a habit to double-check to avoid this common oversight.
Not Checking for Leaks
After we finish the job, we might be tempted to just hop back into our car and hit the road. However, taking a few moments to inspect for leaks can save us major headaches later. If we notice any drips, we’ll want to address them immediately.
Ignoring the Oil Filter
Sometimes we think of oil changes as just replacing the oil, but the oil filter is just as important. Neglecting the filter can mean that contaminants still circulate through our engine.
Disregarding the Environment
We mentioned this earlier, but it bears repeating: disposing of old oil improperly can be harmful to the environment. Let’s make a conscious effort to recycle our oil responsibly!
Benefits of Changing Our Oil
Engaging in regular oil changes offers several benefits, not only for our vehicle but also for us as car owners:
- Improved Engine Performance: Clean oil means better lubrication, which translates to smoother engine operation.
- Enhanced Fuel Efficiency: When our engine runs better, it can improve fuel economy, saving us money at the pump.
- Longer Engine Life: Regular maintenance helps prevent wear and tear, which can extend the lifespan of our vehicle.
- Reduction of Harmful Emissions: Clean oil reduces harmful emissions, making our vehicle more environmentally friendly.
- Increased Resale Value: A well-maintained car with a documented oil change history can fetch a higher price when it’s time to sell.
By changing our oil regularly, we not only enhance the performance of our vehicle, but we also do our part to maintain our environment and budget.
Conclusion
Changing our car’s oil can initially seem daunting; however, with the right tools, materials, and guidance, it can be an enjoyable and rewarding task. By taking the time to understand the process and its importance, we become better vehicle owners and caretakers.
So, whether we want to save a few bucks or simply enjoy the satisfaction of doing it ourselves, changing our oil is an adventure we can easily embark on together. Let’s continue this habit of regular maintenance and ensure our vehicles stay in tip-top shape! Together, we can keep on rolling down the road confidently.


