Let’s dive into the world of car maintenance by tackling a surprisingly simple yet crucial task: replacing a car door handle. In this guide, we’ll walk through all the necessary steps and tools required to get the job done efficiently. Replacing a door handle may seem daunting, but with a bit of patience and our easy-to-follow instructions, we’ll have your vehicle looking and working like new in no time. Get ready to roll up our sleeves and transform this task into a straightforward and satisfying DIY project!
Have you ever tried to open your car door only to be met with an unsettling feeling because the handle just isn’t working properly? We’ve all been there, and it’s incredibly frustrating. But fear not – we’re here to guide you through the process of replacing that malfunctioning car door handle. Whether it’s because the handle snapped, it’s not pulling up the mechanism inside the door, or it’s just worn out from years of use, we can fix this together.

Tools and Materials Needed
First things first, we’ll need to gather the essential tools and materials required for this project. Having everything within arm’s reach will make the job much smoother and more efficient. Here’s a list of what we’ll need:
| Tool/Material | Purpose |
|---|---|
| Replacement Door Handle | The main component we’re replacing |
| Screwdrivers | Flathead and Phillips for screws |
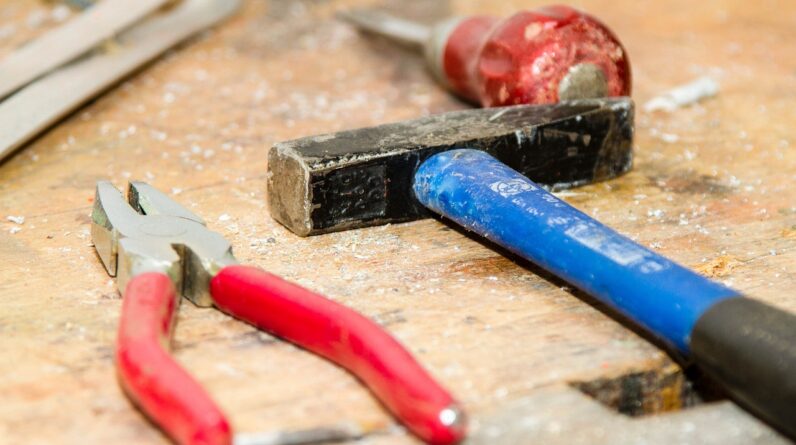
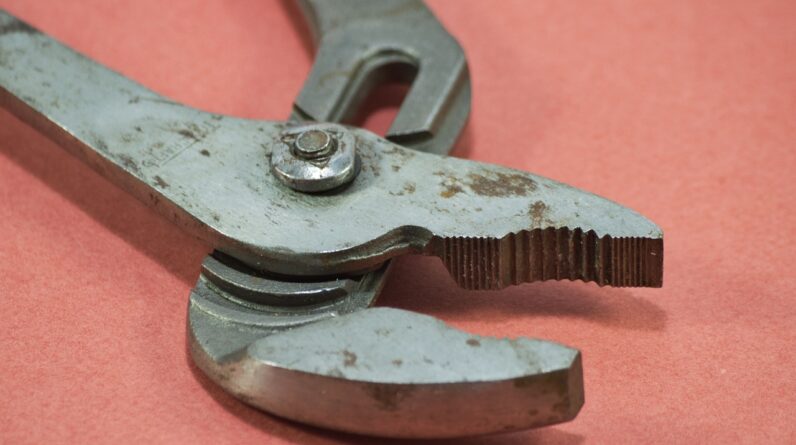
| Pliers | For loosening and tightening nuts |
| Socket Wrench Set | To remove bolts holding the door panel |
| Trim Removal Tool | Helps in detaching the door panel |
| Gloves | Protects hands from sharp edges |
| Torx Bit Set | In case the screws have Torx heads |
| Adhesive Tape | To secure any loose wires |
| Lubricant | Eases the movement of the new handle |
| Shop Rags/Towels | To clean any grime or grease |
| Flashlight | Better visibility inside door |
Step-by-Step Guide
Let’s walk through each step, ensuring we don’t miss anything essential.
Step 1: Safety First
Before we dive into the nitty-gritty, let’s ensure our safety and that of the car.
- Turn off the car and remove the key from the ignition.
- Wear gloves to protect your hands from sharp edges and dirt.
- Disconnect the battery, especially if your car door handle has electronic components. This is crucial to prevent any electrical issues.
Step 2: Assess the Damage and Get the Correct Replacement
Identify why the door handle needs replacing. Is it broken, or is there an internal issue?
- Inspect the handle: Make sure the issue lies within the handle and not deeper within the mechanism.
- Get the exact replacement: Using the wrong part can cause problems. Refer to your car’s manual or consult with an auto parts specialist to get the right one.
Step 3: Remove the Door Panel
Now that we’ve prepped, let’s start by removing the door panel.
- Locate the screws and bolts holding the door panel in place. These are usually found near the armrest, under the door handle, and sometimes along the bottom edge of the door.
- Use the screwdrivers and socket wrench to carefully remove these screws and bolts.
- Use the trim removal tool to gently pry off the door panel. Be gentle to avoid damaging the door or the panel.
- Carefully disconnect any electrical connections and cables attached to the door panel. Use adhesive tape to organize them and keep them out of the way.
Step 4: Remove the Old Door Handle
With the door panel safely removed, we can now access the internal mechanism of the door.
- Locate the connecting rods or cables attached to the door handle mechanism. These rods are what link the door handle to the latch inside.
- Use pliers to carefully disconnect these rods. Remember the orientation and how they’re attached, as we’ll need to reattach them to the new handle.
- Remove the bolts or screws securing the old door handle using the appropriate tools.
- Carefully slide out the old handle from its housing.
Step 5: Install the New Door Handle
Here comes the exciting part – installing the new handle.
- Insert the new door handle into the slot where the old handle was.
- Secure the new handle with screws or bolts. Make sure it’s tightly fastened to avoid any wiggling or movement.
- Reconnect the connecting rods or cables to the new handle. Double-check to ensure they’re correctly connected to the latch mechanism.
- Test the handle to ensure it works correctly. Pull it a few times to make sure the door opens and closes smoothly.
Step 6: Reattach the Door Panel
We’re almost there! Let’s get the door panel back in place.
- Reconnect any electrical connections and cables that were detached earlier.
- Align the door panel back onto the door frame and gently press it back into place.
- Secure the door panel with screws and bolts. Ensure each screw and bolt is firmly in place.
- Test all functions: Check the handle, window controls, and locks to ensure everything is working perfectly.
Troubleshooting Potential Problems
Sometimes, even with the best care, issues can arise. Let’s troubleshoot some common problems:
- Handle feels loose: Double-check that all screws and bolts are tightened properly.
- Door won’t latch: Re-inspect the connecting rods to ensure they’re correctly attached.
- Electrical components not working: Verify that all electrical connections are securely connected.
Maintenance Tips for Your New Door Handle
We’ve come this far, so let’s make sure our hard work lasts!
- Keep it clean: Regularly clean the handle and around it to avoid dirt build-up.
- Lubricate: Apply a bit of lubricant to the mechanisms once in a while to keep them moving smoothly.
- Regular checks: Occasionally check the tightness of screws and bolts to ensure they don’t loosen over time.

Frequently Asked Questions (FAQs)
Q: Do I need to disconnect the car battery every time I replace a car door handle?
A: It’s a good safety measure, especially if the handle has electrical components. It prevents accidental short circuits.
Q: Can I replace the handle without removing the door panel?
A: In most cases, no. The door panel needs to be removed to access the internal mechanisms properly.
Q: What if my new handle doesn’t fit?
A: Double-check the part number and ensure it’s the correct make and model for your car. Sometimes, aftermarket parts can be slightly off.
Q: How long does this process usually take?
A: For someone doing it the first time, it might take about 1-2 hours. With practice, this can be trimmed down significantly.
Q: Do I need any special skills to do this?
A: Basic DIY skills and a bit of patience will usually suffice. If you’re comfortable using common tools and following instructions, you should be fine.

Conclusion
Replacing a car door handle may seem like a daunting task, but with our detailed guide, it becomes a manageable and even rewarding DIY project. By following these steps, we ensure a smooth process that gets us back on the road with a fully functional door handle. Remember, it’s all about taking our time, being patient, and ensuring each step is done correctly. Happy fixing!


