Learn how to replace brake pads safely with our step-by-step guide. Perfect for DIYers, we cover essential tools, safety tips, and detailed instructions. Stay safe and confident!
Hey friends! Today, we’re diving into the nuts and bolts of brake pad replacement—one of those essential car maintenance tasks that might seem daunting at first. In “How to Replace Brake Pads Safely,” we walk through each step with easy-to-follow instructions designed to make this process as smooth as possible. From gathering the right tools to ensuring every bolt is secure, we’ve got all the tips and tricks to keep us confident and safe while working under the hood. Ready to get our hands a little dirty? Let’s get started!
Have you ever wondered how to replace brake pads safely? Well, you’re in the right place! Today, we’re diving deep into the world of brake pad replacement. Whether you’re a seasoned DIYer or just starting out, we’ve got you covered with our friendly and comprehensive guide. By the end of this article, you’ll have the knowledge to confidently and safely replace your brake pads, keeping your vehicle in top-notch condition.
Understanding Brake Pads
What Are Brake Pads?
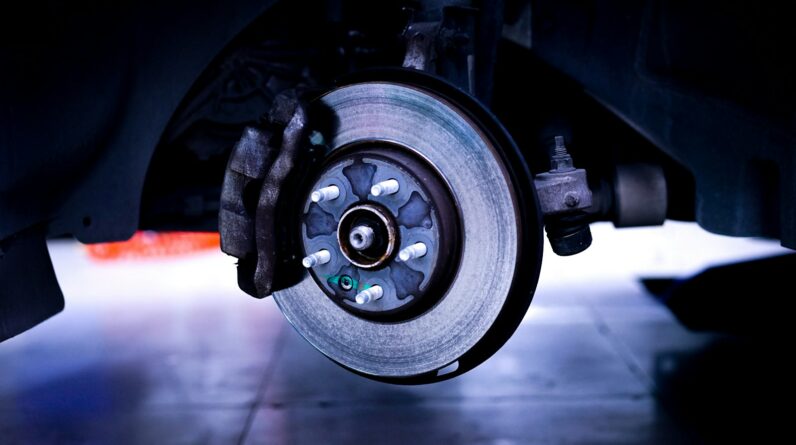
Brake pads are an essential component of your vehicle’s braking system. They are friction materials that press against the brake rotor to slow down or stop your vehicle. Over time, these pads wear down and need to be replaced to maintain optimal braking performance.
Why Do Brake Pads Wear Out?
Brake pads wear out primarily due to friction. Every time we apply the brakes, a small amount of the brake pad material is worn away. This process happens gradually but inevitably requires that we replace them periodically to ensure our vehicle’s safety and performance.
How Often Should We Replace Brake Pads?
The frequency of brake pad replacement varies depending on several factors, including driving habits, type of brake pads, and the conditions under which we drive. Typically, brake pads should last anywhere from 30,000 to 70,000 miles. However, it’s crucial to consult our vehicle’s manual for specific recommendations.
Preparations Before Starting
Gathering Tools and Materials
To replace brake pads safely, we’ll need the following tools and materials:
| Tools | Materials |
|---|---|
| Jack and jack stands | New brake pads |
| Lug wrench | Brake fluid (if needed) |
| Wrench or socket set | Anti-squeal compound |
| C-clamp or brake caliper tool | Applicator for brake lubricant |
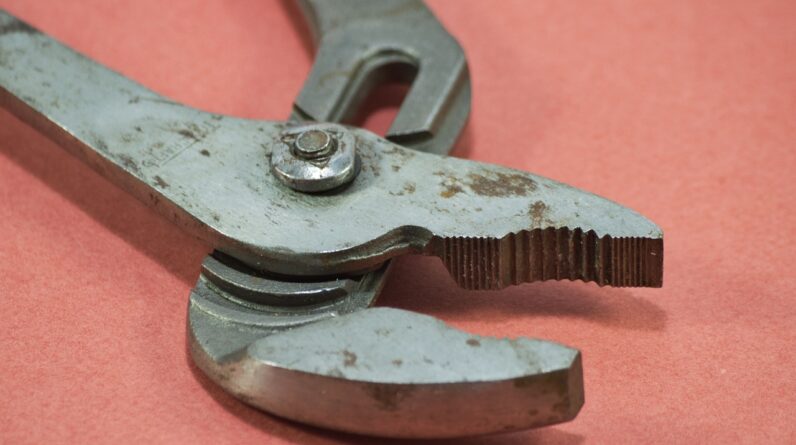
| Pliers | Brake cleaner |
| Brake caliper hanger (optional) | Gloves |
Having everything prepared before starting ensures a smoother and safer process.
Safety Precautions
Safety should always be our top priority. Before we begin replacing brake pads, we need to follow these safety precautions:
- Park on a Level Surface: Ensure the vehicle is parked on a flat, stable surface and engage the parking brake.
- Wear Protective Gear: Wear gloves and safety glasses to protect our hands and eyes.
- Disconnect the Battery: This prevents any accidental short-circuits while working on the brakes.
- Allow the Vehicle to Cool Down: Brake components can get extremely hot, so it’s essential to wait for them to cool down before we start.
Step-by-Step Guide to Replacing Brake Pads
Step 1: Loosen the Lug Nuts
The first step is to loosen the lug nuts on the wheels where we’ll be replacing the brake pads. We need to do this while the vehicle is still on the ground to prevent the wheels from rotating. Using a lug wrench, turn the nuts counterclockwise until they are loose but not completely removed.
Step 2: Lift the Vehicle
Next, we need to lift the vehicle using a jack. Position the jack under the vehicle’s recommended lifting points and raise the vehicle until the wheels are off the ground. Once lifted, place jack stands under the vehicle to ensure it remains secure while we work on it.
Step 3: Remove the Wheels
With the vehicle securely lifted, we can now remove the wheels. Finish unscrewing the lug nuts and carefully take the wheels off, setting them aside in a safe place.
Step 4: Remove the Brake Caliper
Now it’s time to remove the brake caliper. The caliper is usually held in place by bolts at the back. Use a wrench or socket set to remove these bolts. Be cautious as the caliper can be heavy; support it with a caliper hanger if necessary to avoid putting strain on the brake line.
Step 5: Remove the Old Brake Pads
With the caliper out of the way, we can see the brake pads. They should slide out easily, but if they’re stuck, a little gentle persuasion with a flathead screwdriver can help. Take note of how they are positioned so we can install the new pads correctly.
Step 6: Inspect the Brake Rotor
Before installing the new brake pads, it’s a good practice to inspect the brake rotors. Look for any signs of damage or excessive wear. If the rotors are in poor condition, they may need to be resurfaced or replaced.
Step 7: Install the New Brake Pads
Apply an anti-squeal compound to the back of the new brake pads. This helps to prevent noise and vibration. Slide the new pads into place, ensuring they are properly aligned and secure.
Step 8: Compress the Brake Caliper Piston
The piston in the brake caliper may need to be compressed to accommodate the thicker new pads. Use a C-clamp or a brake caliper tool to push the piston back into the caliper. Be careful not to damage the piston or surrounding components.
Step 9: Reattach the Brake Caliper
With the new pads in place and the piston compressed, we can reattach the brake caliper. Carefully position the caliper over the new pads and secure it with the bolts we removed earlier. Tighten the bolts to the manufacturer’s recommended torque specifications.
Step 10: Reinstall the Wheels
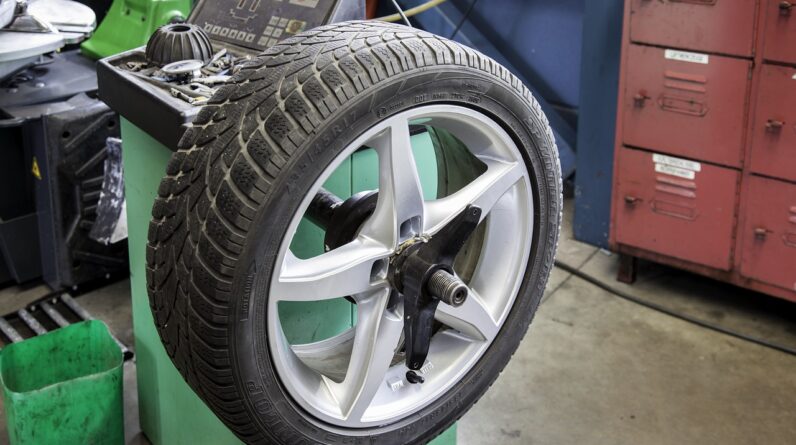
Place the wheels back onto the vehicle and hand-tighten the lug nuts. Once the wheels are back on, use a lug wrench to tighten the lug nuts in a star pattern. This ensures the wheel is evenly seated.
Step 11: Lower the Vehicle
Using the jack, carefully lower the vehicle back to the ground. Once on the ground, use the lug wrench to give the lug nuts a final tightening. Ensure they are snug and secure.
Step 12: Test the Brakes
Before we hit the road, it’s crucial to test the brakes. Start the vehicle and pump the brake pedal a few times to ensure it’s firm. This also helps to seat the new pads properly. If everything feels right, take a slow test drive to further ensure the brakes are functioning correctly.
Post-Replacement Tips
Breaking-In New Brake Pads
New brake pads need a break-in period to perform at their best. Avoid aggressive braking for the first 200 miles to allow the pads to seat properly.
Regular Inspections
Even after replacing the brake pads, regular inspections are vital. Check the brake pads, rotors, and fluid levels periodically to catch any potential issues early.
Addressing Noise
New brake pads might produce some noise initially. However, if the noise persists, it could indicate a problem. Double-check that everything is installed correctly and consult a professional if necessary.
Common Mistakes to Avoid
Using Incorrect Tools
Using the right tools makes the job easier and safer. Avoid improvising with tools not designed for brake work.
Ignoring Torque Specifications
Every vehicle has specific torque settings for brake components. Ignoring these specifications can lead to over-tightening or under-tightening, which can compromise braking performance.
Not Bleeding the Brakes
If we opened the brake line for any reason, it’s essential to bleed the brakes to remove any air bubbles. Air in the brake lines can lead to a spongy brake pedal and decreased braking efficiency.
Benefits of Replacing Brake Pads Ourselves
Cost Savings
Replacing brake pads ourselves can save a significant amount of money compared to taking our vehicle to a mechanic. While it requires an initial investment in tools, the savings on labor costs can be substantial.
Learning Experience
There’s a sense of satisfaction that comes with maintaining our vehicles. Understanding how our car works can lead to better care and quicker troubleshooting if issues arise in the future.
Convenience
We don’t have to schedule appointments or wait for our turn at the shop. We can replace brake pads at our own convenience, making it easier to fit into our schedule.
When to Seek Professional Help
Complex Issues
Not all brake problems are straightforward. If we encounter complex issues like damaged brake lines, warped rotors, or electronic brake systems, it might be best to seek professional help.
Lack of Confidence
If we don’t feel confident in our ability to replace brake pads safely, there’s no shame in seeking professional assistance. Our safety and the safety of others on the road should always come first.
Time Constraints
Sometimes, we simply don’t have the time to dedicate to DIY repairs. In such cases, letting a professional handle the job ensures it’s done correctly and promptly.
Conclusion
Replacing brake pads safely is a rewarding and practical skill that every vehicle owner can benefit from. By understanding the components, following safety precautions, and meticulously completing each step, we can maintain our vehicle’s braking performance and ensure our safety on the road. So, let’s gather our tools, take our time, and get the job done right. Happy wrenching!


